
How to Install Django?
Hello programmers, today we are going to learn few things about another web framework which is popular in python language i.e. Django. Yes it is as much popular as Flask.(If you don’t know what Flask is just click Here)
Intro
There are few concepts that makes Django more famous than Flask. few differences are like Django is full stack web development framework where as flask is lightweight and extensible web development framework, Django makes it easier for user to handle common project administration tasks by providing them a ready to use admin framework. This admin framework function makes Django a bit different than Flask. Many features provided by Django help developers to build large and complex web application. whereas Flask accelerates development of simple web application by providing the required functionality.
Here we are done with the introductory part and now we can move toward the installation part.
Installation:
Lets start with the installation process. We can install Django with pip command
pip install django
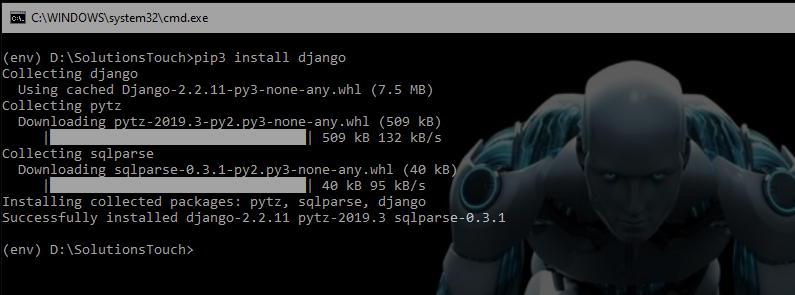
After running above command it will install Django and its required components. if you have good and stable connection it will take few seconds. other wise it will take few minutes. Now we can move to our coding section.
Coding:
Note that if this is your first time using django then you have to take care of some initial setups. You need to generate some auto-generated code to establish your django project including database configuration, application specific settings and django specific options.
open Command prompt and redirect to your destination folder where you want to save your django project and enter following command
django-admin startproject your_project_name
Here your_project_name refers to the name you want to give to your project.
This command will create a new directory with your project name which will look like this.
mysite/

     manage.py

     mysite/

        __init__.py

        settings.py

        urls.py

        wsgi.py
where settings.py contains setting/configuration of django project, urls.py contains url declearation of django project. You can read more about this on docs.djangoproject.com/en
Running the Project
Now change your command prompt path to the outer of the project i.e. outer of mysite. Now to check our project is build successfully or it have few bugs run following command
python manage.py runserver
This command will output something like this
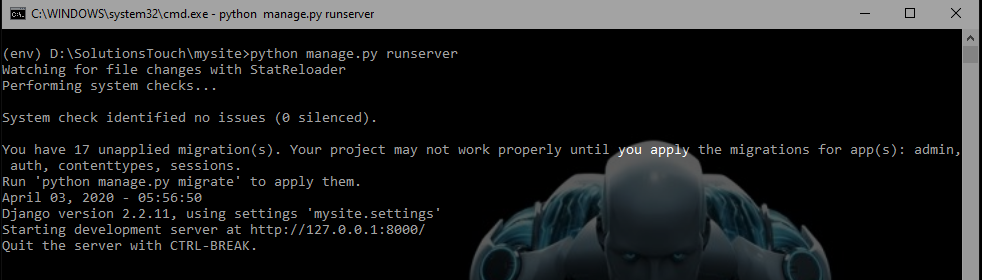
Note that you just ignore the warning of applying migrations of apps we will deal with it later
Now open your browser and enter the url given in above image. for ex. here in my image the url is 127.0.0.1:8000/
Here we assume that every one knows that 127.0.0.1 is an local host address and :8000 is port number. Some times it changes if it is been used by another process so check your open port number given in your url and enter the same.
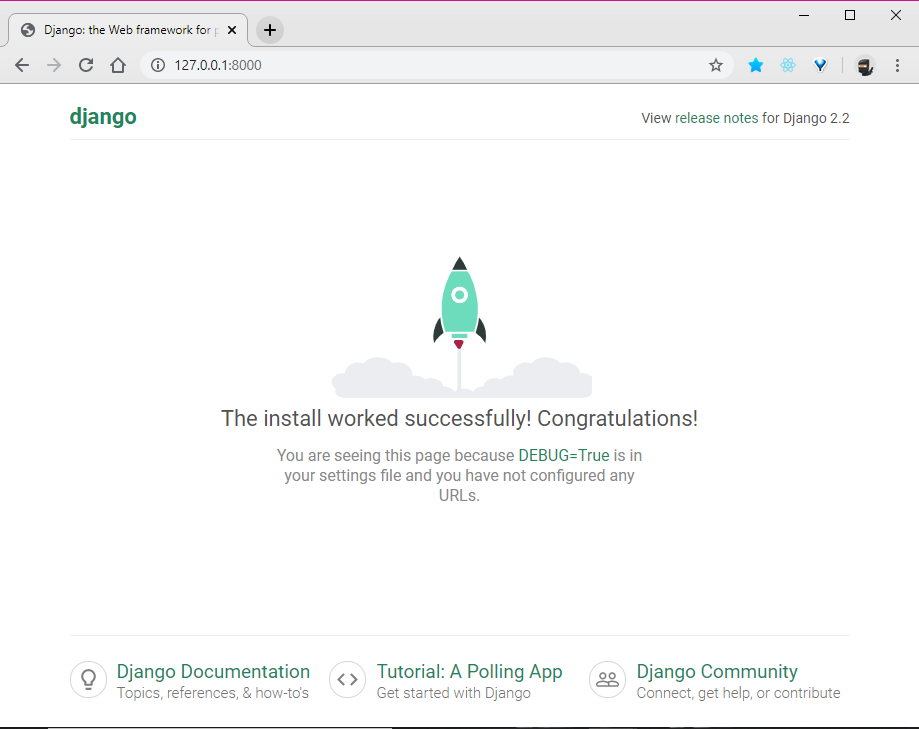
Here your are seeing the official documentation page of django provided by itself django. If it appears it means we have successfully installed django and build the project
So we are going to stop here. In the next Section we will cover the creating new app in django. So stay tuned. try this by your own. if you face any problem regarding this feel free to comment below. we will try to solve your problem regarding this as soon as possible. Subscribe to our newsletters to get notified with our new upcoming topics.
Thank you…
Happy coding…