
In this post, we are going to install OpenCV 3 on Windows. We have used Windows Power Shell to run commands. Alternatively, you can use the command prompt too. Before going to install OpenCV on machine you have to know
- What is OpenCV ?
- Where to use OpenCV ?
So,
What is OpenCV ?
OpenCV (Open Source Computer Vision Library) is released under a BSD license and hence it’s free for both academic and commercial use. It has C++, Python and Java interfaces and supports Windows, Linux, Mac OS, iOS and Android. OpenCV was designed for computational efficiency and with a strong focus on real-time applications. Written in optimized C/C++, the library can take advantage of multi-core processing. Enabled with OpenCL, it can take advantage of the hardware acceleration of the underlying heterogeneous compute platform.
And
Where to use OpenCV?
OpenCV is a cross-platform library using which we can develop real-time computer vision applications. It mainly focuses on image processing, video capture and analysis including features like face detection and object detection.
The library has more than 2500 optimized algorithms, which includes a comprehensive set of both classic and state-of-the-art computer vision and machine learning algorithms. These algorithms can be used to detect and recognize faces, identify objects, classify human actions in videos, track camera movements, track moving objects, extract 3D models of objects, produce 3D point clouds from stereo cameras, stitch images together to produce a high resolution image of an entire scene, find similar images from an image database, remove red eyes from images taken using flash, follow eye movements, recognize scenery and establish markers to overlay it with augmented reality, etc.
So, let’s start with installation firstly download latest version of OpenCV from its Official Website.(link given in download section) After download completing click on opencv_x.exe(_x is version you have downloaded)

After clicking on .exe OpenCV will get started installing on your machine
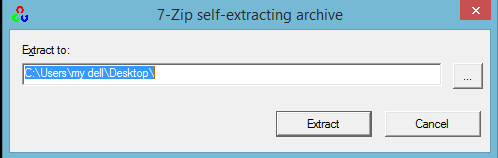
Remember this extracting path (you need this later). now click on Extract Button it will start Extract package on given path.
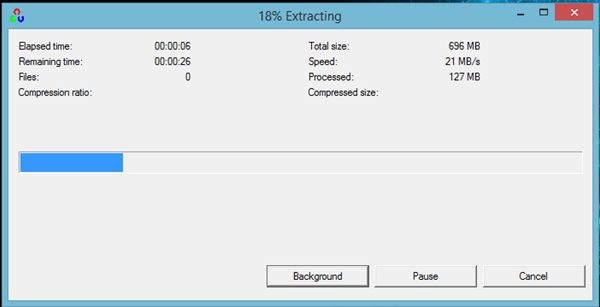
After Extraction complete you will find a folder named “opencv” on given path. Done you have installed OpenCV on machine. Don’t leave here reading this article. now check is OpenCV got installed on machine correctly???
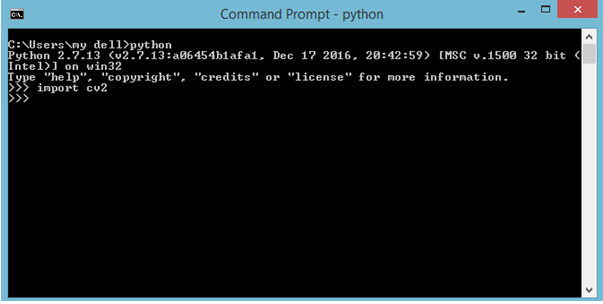
Just open command prompt and enter following command to check
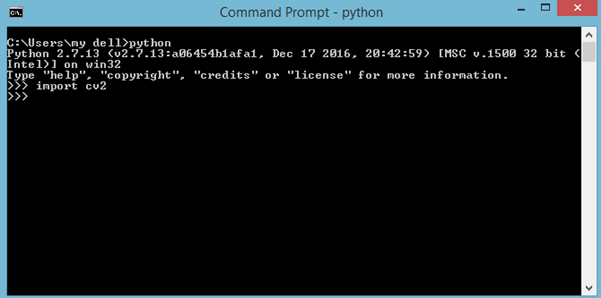
If you don’t got error after entering “Import cv2” command congratulation you have successfully installed OpenCV
But unfortunately you got hit with error like this
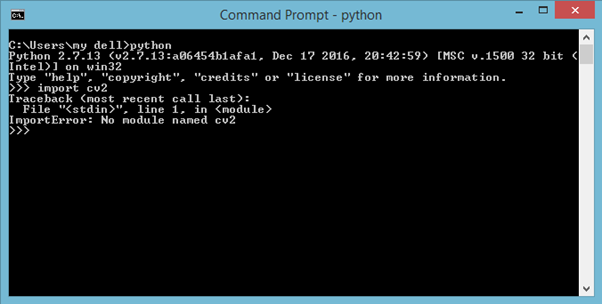
What happened ??? opencv was installed correctly on your machine but not in python. So what to do??
So here is the procedure to solve this error now go to path which is given while installing opencv. In opencv folder move to
opencv->build->python->2.7
Here you will get two folders named “x64” and “x86” now check which python you have installed. It will be either 32 bit or 64 bit you can check
.png)
In my machine i have installed 32 bit python version if you have installed same as me i.e. 32 bit follow folder path given below
opencv->build->python->2.7->x86
you will find file named cv2.pyd copy this file and paste it into your python folder site-packages which is located into lib folder
python->lib->site-packages
After pasting cv2.pyd into site-packages folder goto command prompt and enter the same command we entered previously.
If no error prompted it means you have installed opencv on your machine successfully. If problem persist please read the article again carefully.
Happy coding...